Zen and the Art of Perfect Pie Crust Making
After a very tumultuous several months of working myself ragged to bring a big, big project to reality, I suddenly found myself with an abundance of free time and jonesin’ to bake something. Now, I am not one who normally has the patience for baking with all its precision and demands to follow a procedure. But, with my nerves frayed from relentless multitasking while being endlessly interrupted with something new or something old or just something else and a constant panicky feeling that I had forgotten, overlooked (or simply ignored) something important, necessary and, likely, already two days or more late, the single-mindedness of baking had a certain meditative appeal to it.

However, not just any baking would do. An overly complicated recipe requiring hard to find ingredients (I am looking at you my Tartine cookbook) would result in a day focused on procurement and not baking. Unusual and exotic recipes would not do. I wanted something where I knew what the final result should be and I could immediately judge whether it was good. But, it could not be so simple that it was not immersive. I needed a baking project that was easily identifiable with ingredients on hand, but allowed me to shut the world out and immerse myself in the act of creating perfection.
And, so, the perfect pie crust it was.
A pie crust that adequately contains all its fillings is pretty straightforward. You can even get acceptable and speedy results from the freezer section. But, the perfect, dreamy, flaky, buttery, tender pie crust that has you munching on the ends and scraping away the filling to just eat the crust alone is a rare species indeed. It is one that does not require exotic ingredients (Check). It is familiar and its greatness is easily discernable (Check and check). And it requires time, focus, technique, patience and, thankfully, no multitasking (Check, check, check, check and, thankfully, check).

Keep in mind, this recipe is not for the faint of heart. It takes time. Yes, I can make a pie crust faster and I certainly can cut corners here to save time, but zen is not about saving time. On this day, some kitchen meditation (medication?) was in order. That said, the dough can take up to an hour. Resting the dough is at least 30 minutes (I took as long as the meat filling wanted to simmer). Roll out? Twenty to thirty minutes. Then baking for 45 minutes. Was it worth it? Would I call this post “Zen and the Art of the Perfect Pie Crust” if it was not?
I started out with a good old standby, the King Arthur Classic Double Pie Crust Recipe. I was taken with the technique for cutting the flour into the butter in this blog post. It is reminiscent of making croissants and puff pastry. Then, I went a bit rogue.
Instead of that weird translucent hydrogenated, engineered curiosity that is shortening, I used lard. This was from the jar of lard I brought back from Cochon in New Orleans some time ago. I was saving it for something special (like, say, the perfect pie crust).
I also used “special” European cultured butter (or as Europeans call it, butter). It is basically higher butterfat (85%) and mildly fermented (and more pricey). I stock butter in my freezer, so to duplicate this, freeze your butter overnight. I took it out of the freezer before I started measuring dry ingredients to thaw it just a bit before cutting. While the butter thawed, I measured and sifted the flour and salt and used my fingertips blend in the lard. The butter was chopped into planks with measurements largely dictated by a 1-lb block of butter – 1/2 x 1/4 x 4-inch.
On a silicone mat, I laid the planks out, mostly aligned. Spoonful by spoonful, the flour mixture was incorporated into the butter with a rolling pin and using a pastry knife to mix and turn the butter for even distribution. As the butter started out frozen, it is stiff making rolling a tough job. However, as the butter is frozen, you have time. Meditate on it, but don’t touch the butter with your warm fingers.
As it starts coming together, the butter rolls into nice flat plates with flour pressed into it. Now, use a bit of visualization to imagine that crust in the oven. Those flat plates are trapped between layers of flour. The heat melts the butter while cooking the flour into sheets with spaces where the solid butter was – viola, buttery flakes!
Now, it is time to add the ice water – one tablespoon at a time. Here is where “tender” comes in. The goal is to just hydrate the flour so it comes together as a dough, but don’t work the mixture to create gluten. Think, gentle, yogi-like, zen thoughts and breath. Using the pastry knife to flip and rotate the mixture as you add the water. As long as your butter is still cold, rest briefly between water additions to allow the flour to hydrate. As it comes together, gather it with your hands using a light (and cool) touch. Gather the dough into two balls and roll it out to approximately an 8-inch square. Fold that square in thirds (like a letter) and thirds the opposite way (like a letter). All this folding is right out of the croissant and puff pastry playbook. Finally, wrap it in plastic wrap and chill it in the fridge.
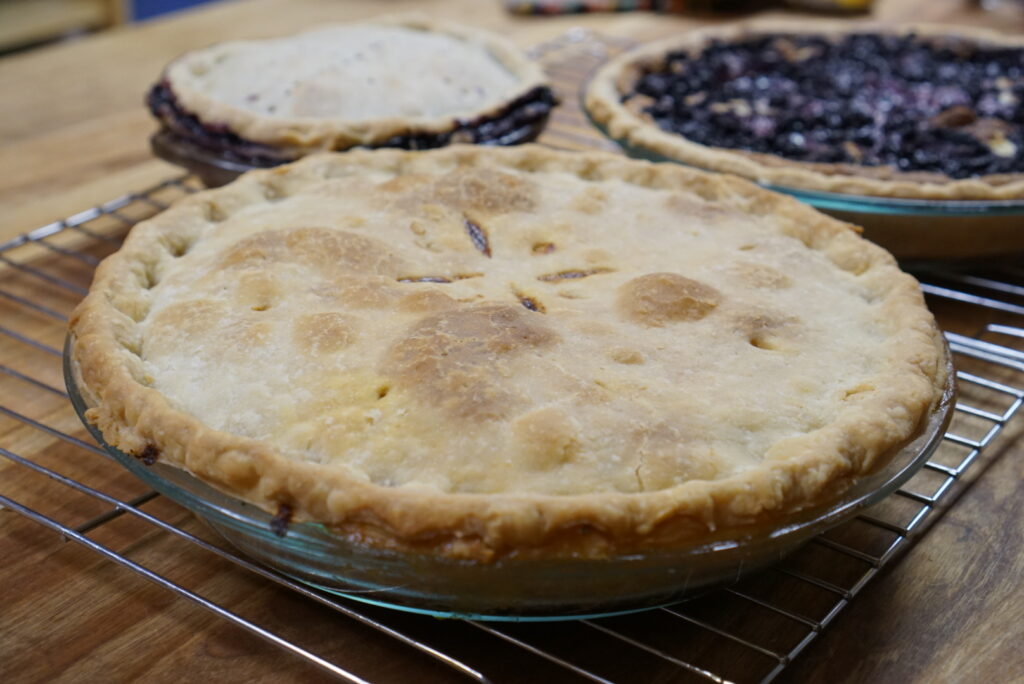
I chilled mine for about two hours while I made fillings and practiced more patience watching them reduce and thicken. I was also ambitious and made a triple recipe because when you get the perfect pie crust, it is best to have lots of it to savor. Once the fillings are completely ready, and not before, grasshopper, take the pie dough out of the fridge. If you are super fast with that filling, give your dough 30-minutes in the fridge. Oh yeah, don’t forget to get that oven well-heated and up to 425F before you start rolling out crusts.
Place the dough on a floured surface and pick up that croissant playbook again. Using a well-floured rolling pin, breath in a quick ‘Om’ and whack the dough solidly 4-6 times, flip it and rotate it 90-degrees and whack it 4-6 more times. In croissant making, I was told this whacking distributes the butter evenly without adding a lot of mechanical action like rolling would, thus maintaining the flaky structure without creating gluten. Makes sense here too, but really, it is just fun to do. And, it takes a lot of work out of rolling that cold dough.
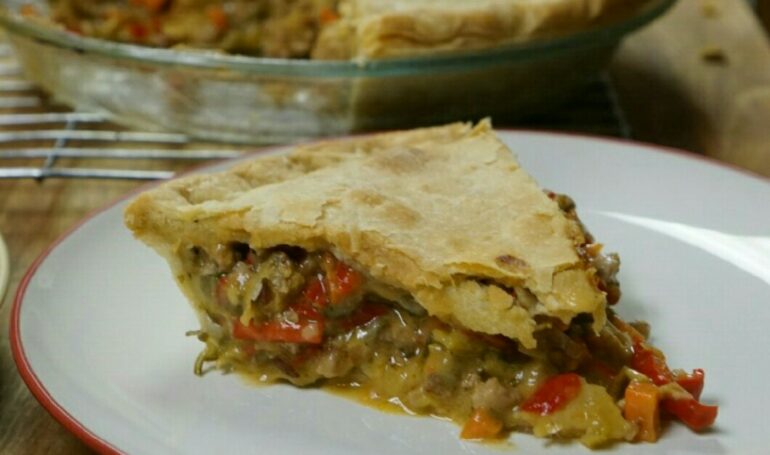
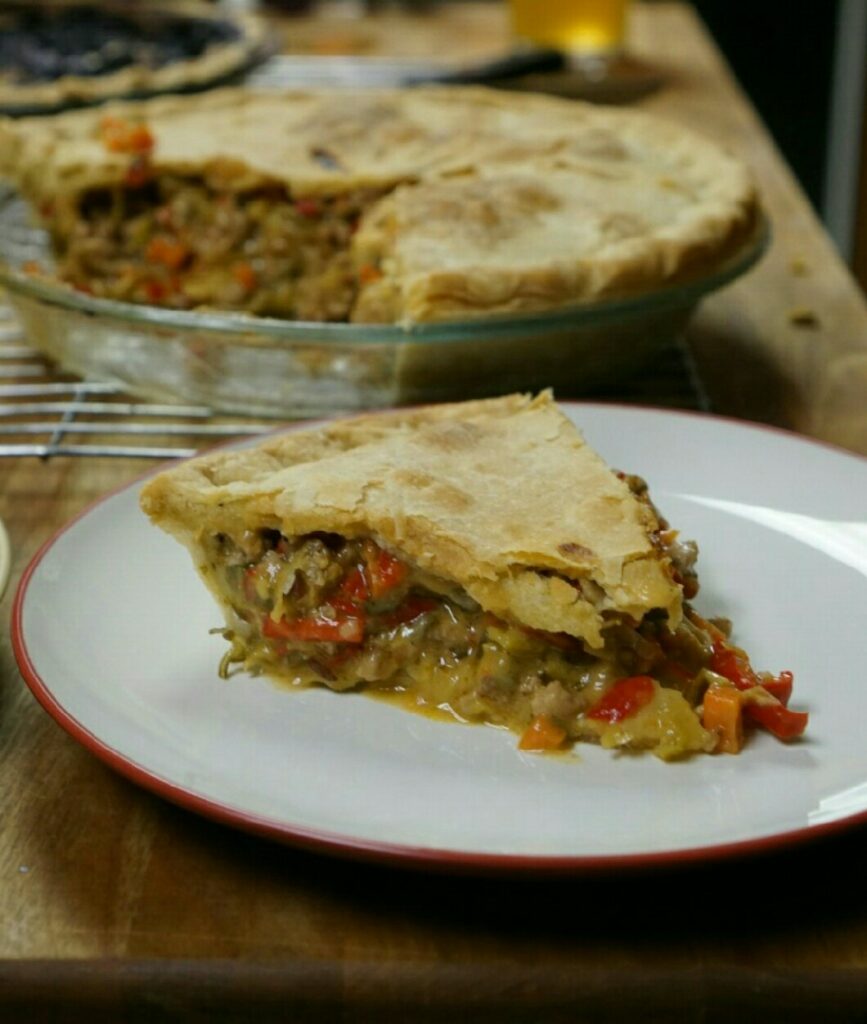
Roll the first crust out and line a pie pan, but don’t fill it until you roll the top crust. We don’t want to melt that butter just yet. Once the top crust is rolled out, work quickly to fill it to the brim. I went for a ridiculously decadent red pepper, leek, ground pork and Fromage Blanc filling. This reduced and thickened for a long time. I wanted little chance for the filling to expand, steam and overflow the crust or burst a seam.
I spent an absurd amount of time making this crust and filling and the result was an absurdly delicious pie. As I tucked into that perfect, dreamy, flaky, buttery, tender pie crust, I said a quiet little namaste then munched out the filling so I could enjoy that crust all alone. Namaste, indeed.

Pork & Fromage Blanc with Leeks and Red Pepper Pie Filling
Ingredients:
1 lb Ground Pork
2T olive oil
3 leeks, thinly sliced into 1/8-inch thick 1/2 moons
3 red peppers, thinly sliced in 1/4 x 2 -inch planks
2T Butter
1/4 cup flour
1-1/2 cups chicken stock
1/2 cup milk
10 ounces Fromage Blanc
1 clove of garlic, finely minced
1T smoked paprika
Kosher salt and fresh ground pepper to taste
Procedure:
1. Preheat oven to 425F.
2. Brown ground pork in a stainless steel, heavy bottom pan. Set aside
3. Using the same pan add olive oil and scrape up tidbits in bottom of pan. Once oil is heated (shimmering), add leeks. Salt lightly (~2t). Cook over medium heat to sweat until translucent.
4. Add red peppers. Cook until slightly softened, but still crunchy. Use caution not to overcook as skins become tough.
5. Add ground pork to the leek-pepper mixture. Add a bit of salt (1-2t)Increase heat to sizzling and add butter. Once it is melted, sprinkle the flour over the mixture and cook for 2-3 minutes. Add stock and milk. Bring to a simmer.
6. Simmer, uncovered for 30 minutes, stirring occasionally. Liquid in mixture should reduce by half and thicken. It is important to reduce and thicken a pie base so that it does not expand too much in the oven and break the crust.
7. Stir in fromage blanc and stir until well blended. Add garlic and paprika. Salt and pepper to taste. Simmer for another 10 minutes.
8. While it is simmering, roll out the two crusts and line a deep pie plate with a crust.
9. Fill the crust to the rim. Lay out the top crust and crimp the edges together. Score the top to allow steam to escape.
10. Bake for 20 minutes. Cover crust edges with foil and cook an additional 15 minutes until crust is golden.
11. Cool before eating.
Leave a Reply